Table of Contents
Quick Take
The #1 cause of flooring failures isn’t the flooring itself — it’s the subfloor problems beneath it. Uneven surfaces, squeaks, moisture, cracks, and old adhesives are the hidden culprits. Concrete and wood subfloors each have unique flooring installation challenges, but every issue has a fix — from tightening screws to overlay systems like self-leveling underlayments (SLUs). Skipping prep can waste thousands and void warranties. The safest way to know your subfloor is ready is to have it inspected before installation.
Why Subfloors Matter
You’ve chosen a beautiful new floor that costs thousands of dollars. The last thing you want is to hear squeaks or see seams open because the subfloor wasn’t ready.
Most flooring failures don’t come from the product — they start underneath. Subfloor prep is the single biggest factor in whether your floor succeeds or fails. Done right, it protects your investment, prevents callbacks, and keeps floors quiet and stable for years.
Competitors that advertise “fast installs” rarely mention subfloors, but skipping prep is why so many of their jobs end in callbacks.
Subfloor vs. Underlayment
It’s easy to confuse these two.
- Subfloor: The permanent base of your home — concrete slab or wood panels over joists.
- Underlayment: An optional layer added on top to reduce sound, add comfort, or smooth tiny imperfections.
Key point: Underlayment can’t fix real subfloor problems. Think of it as a cushion, not a cure. Issues like dips, squeaks, cracks, or moisture need correction first.
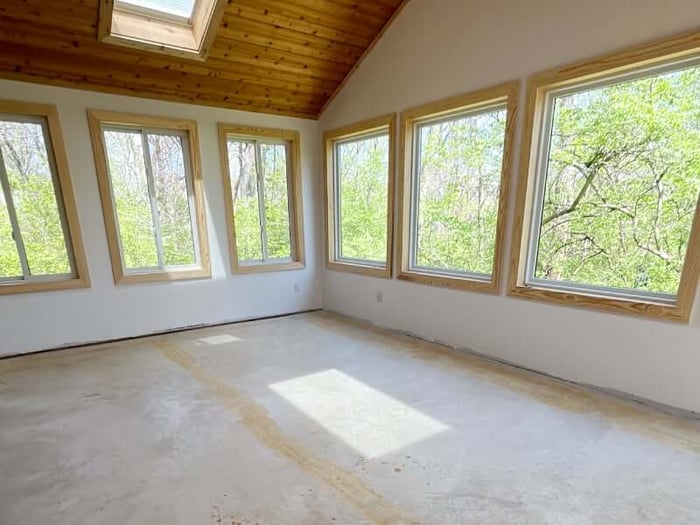
Concrete Subfloor Problems
Uneven or Wavy Surfaces
Concrete can settle or wear unevenly, leaving dips that cause hollow sounds or boards that won’t lock. Installers fix this by grinding high spots or pouring a self-leveling underlayment (SLU) to restore flatness — a must for both glue-down and floating floors.
Moisture Issues
Concrete releases moisture for decades. If unchecked, it can cause odors, mold, or warped floors. Installers test with moisture meters and in-slab probes; if readings are high, they apply a roll-on moisture barrier. Skipping this step almost guarantees failure.
Cracks and Chips
Even hairline cracks can transfer up into tile or vinyl, while chips weaken adhesive bonds. Patching and filling restore a smooth, solid surface for installation.
Adhesives, Sealers & Residues
Old glue and sealers block new adhesives from bonding. These must be removed or encapsulated. Even floating floors require flat, clean bases — skipping this prep shortens lifespan and creates avoidable flooring installation challenges.
Wood Subfloor Problems
Squeaks & Movement
Loose nails or shifting joists create squeaks that worsen after flooring is installed. Fixing subfloor issues before installation — usually by swapping nails for screws or adding adhesive — ensures quiet floors for years.
Uneven or Sagging Panels
High or low joists from house settling create dips or raised seams that make floors feel soft or unstable. Reinforcing joists or adding overlay panels restores stability and prevents gaps.
Water Damage or Rot
Leaks or humidity can weaken panels or joists, leading to mold or structural damage. Damaged areas must be replaced, not covered. Ignoring them can void flooring warranties and risk safety.
Gaps, Seams & Fasteners
Raised seams or protruding nails telegraph through new floors. Sanding seams and resetting fasteners before installation prevents these imperfections from showing later.
Overlay & SLU Systems: A Fresh Start
Overlay systems like SLUs give installers a reset button. They flatten the surface, lock in old adhesives, and add strength for long-term durability. One installer described it best: “It’s like getting a brand-new canvas before you paint.”
Moisture Barriers That Protect Floors
When moisture tests show elevated readings, professionals don’t guess — they act. Epoxy or roll-on sealants form a protective shield between slab and flooring, like a raincoat for your foundation. Once cured, they’re invisible but constantly working to protect your investment.
Transitions & the Rule of 3
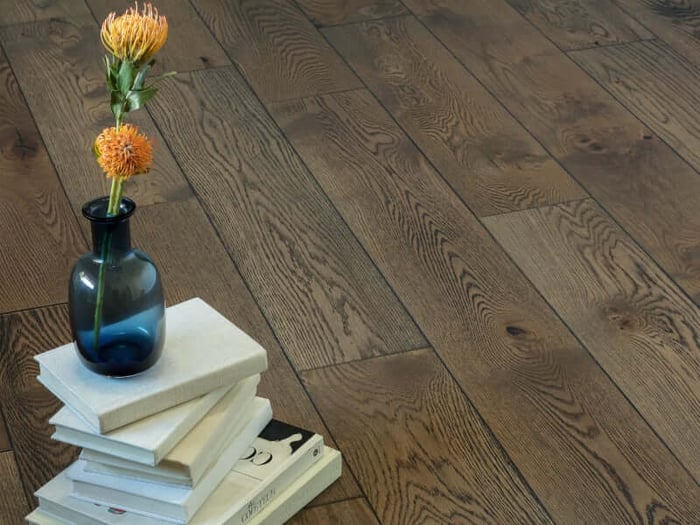
Every flooring change creates a transition. Too many transitions mean uneven thresholds and visual clutter. Designers often follow the Rule of 3: limit your home to three flooring types or fewer. It creates a cohesive flow, simplifies prep, and even boosts resale value since buyers favor consistent flooring runs.
Homeowner Quick Checks
While a professional should always inspect before installation, here are a few early floor preparation tips you can try:
- Concrete sealer test: Drop a bit of water on the slab. If it soaks in, you’re good to prep. If it beads, there’s a sealer or dense finish that needs to be opened up before adhesives will bond.
- Squeak test: Walk slowly on wood subfloors. One squeak now could become several later — fix it before the floor goes in.
- Damage check: Look for dark stains, damp spots, or musty odors. They signal hidden leaks or rot.
- Residues: Shiny or sticky patches usually mean leftover glue or sealer that needs to be removed or covered with SLU.
These don’t replace professional inspection, but they help you catch early warning signs and reduce future flooring installation challenges.
New Tools & Products That Help
Modern installers have better tools than ever:
- SLU overlays flatten entire rooms.
- Uncoupling membranes stop cracks from transferring into tile.
- Moisture barriers lock out vapor for decades.
For homeowners, these upgrades mean fewer surprises, quieter floors, and healthier living spaces.
Why Preparation Matters
Improper prep is the #1 reason floors fail. A $10,000 floor can fail in months if installed over uneven or damp subfloors. Companies that prioritize speed often skip this step — and homeowners end up paying for it later.
Professionals at America’s Floor Source follow a proven process: every subfloor is tested and corrected before installation. The result: floors that look better, last longer, and stay quiet underfoot. It’s the kind of peace of mind that never squeaks.
Next Steps
Schedule a free consultation to have our team inspect your subfloor.
Visit a showroom to learn how prep protects your new flooring.
FAQs
What are early signs my subfloor has issues?
Walk barefoot across the room. Feel dips or soft spots? Hear squeaks? Smell something musty? Those are warning signs. Fixing them now costs a fraction of replacing a finished floor later.
Can I install over uneven or cracked subfloors?
Not safely. Small flaws can be patched, but major cracks or unevenness cause separation, squeaks, and tile breaks. Think of it like painting over peeling paint — it won’t last.
How do pros check for moisture?
They use moisture meters, probes, and chloride tests to measure vapor. High readings trigger moisture barriers. Skipping testing risks warped hardwood, curled vinyl, or mold.
Do squeaks have to be fixed first?
Absolutely. Tightening fasteners or adding screws takes minutes and prevents years of noise. Once flooring is down, fixing squeaks costs hundreds.
What’s the safest way to handle old adhesives?
If you see black adhesive, assume asbestos until tested. Never sand or grind. If it’s safe, pros may scrape or encapsulate it with SLU. If asbestos is confirmed, licensed abatement is required — your health matters more than speed.
Does subfloor repair add much cost?
Not usually. Many fixes are minor. Larger overlays or SLUs add cost but prevent far more expensive floor failures. Spread over financing, even a few thousand dollars in prep becomes a manageable monthly expense — and it’s far cheaper than reinstalling a damaged floor.